


LATEST RECIPES


LET'S GET COOKING!
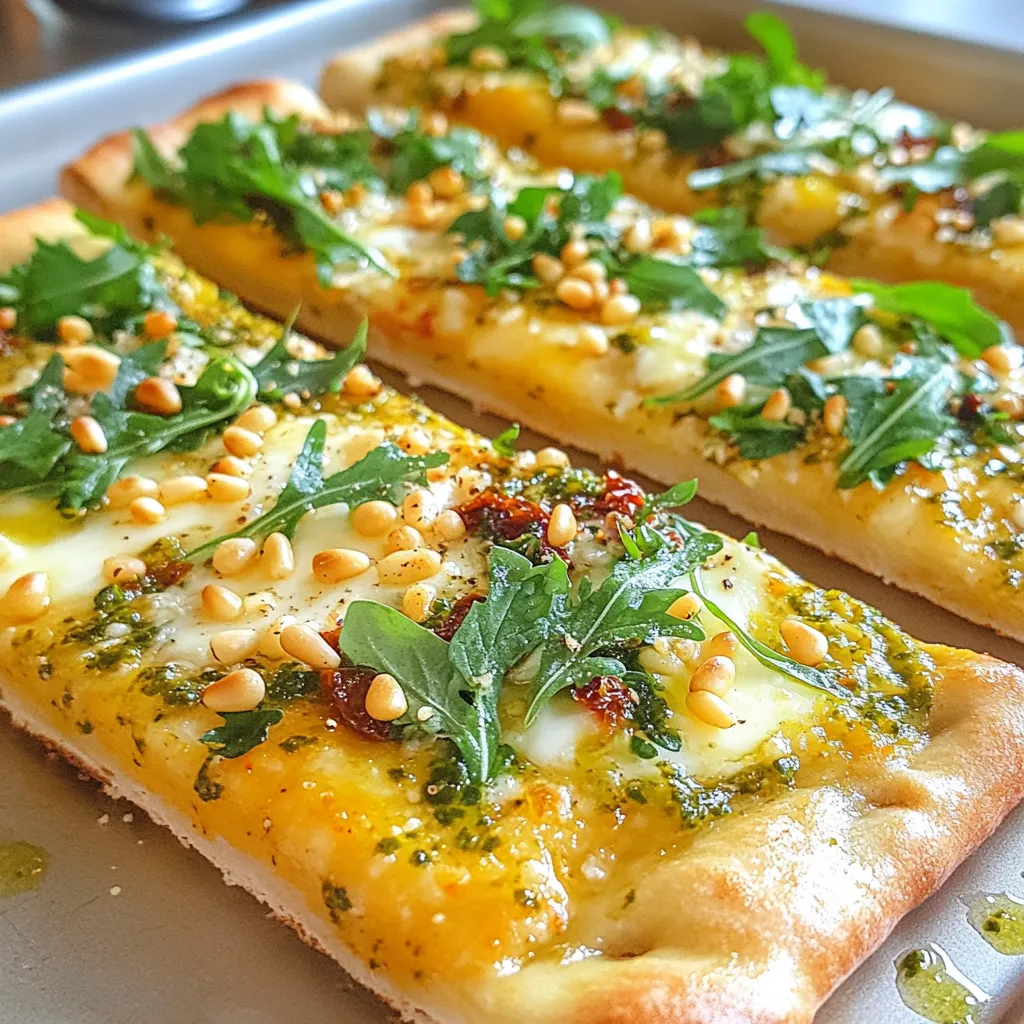
Sun-Dried Tomato Pesto Flatbread Flavorful Delight
Craving a savory treat that’s easy to make? Try my Sun-Dried Tomato Pesto Flatbread! This flavorful delight combines fresh basil, sun-dried tomatoes, rich mozzarella, and...
Read Full Recipe →