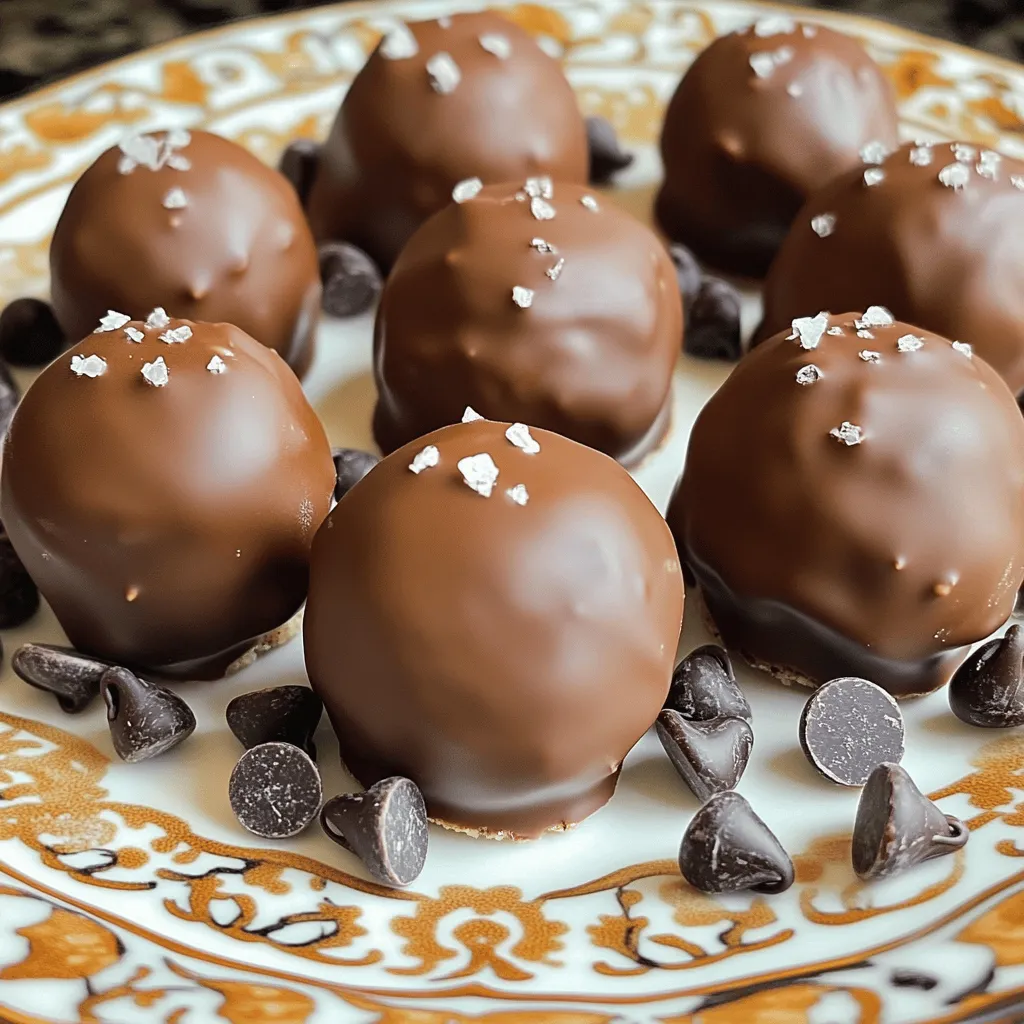
Looking for a sweet treat that’s easy to make? You’ve come to the right place! These Chocolate Chip Cookie Dough Truffles combine smooth, creamy dough with rich chocolate for an indulgent treat. In this guide, I’ll walk you through each step—from ingredients to tips for perfecting your truffles. Get ready to impress your friends and family with a delicious dessert that’s sure to delight! Let’s dive in!
Ingredients
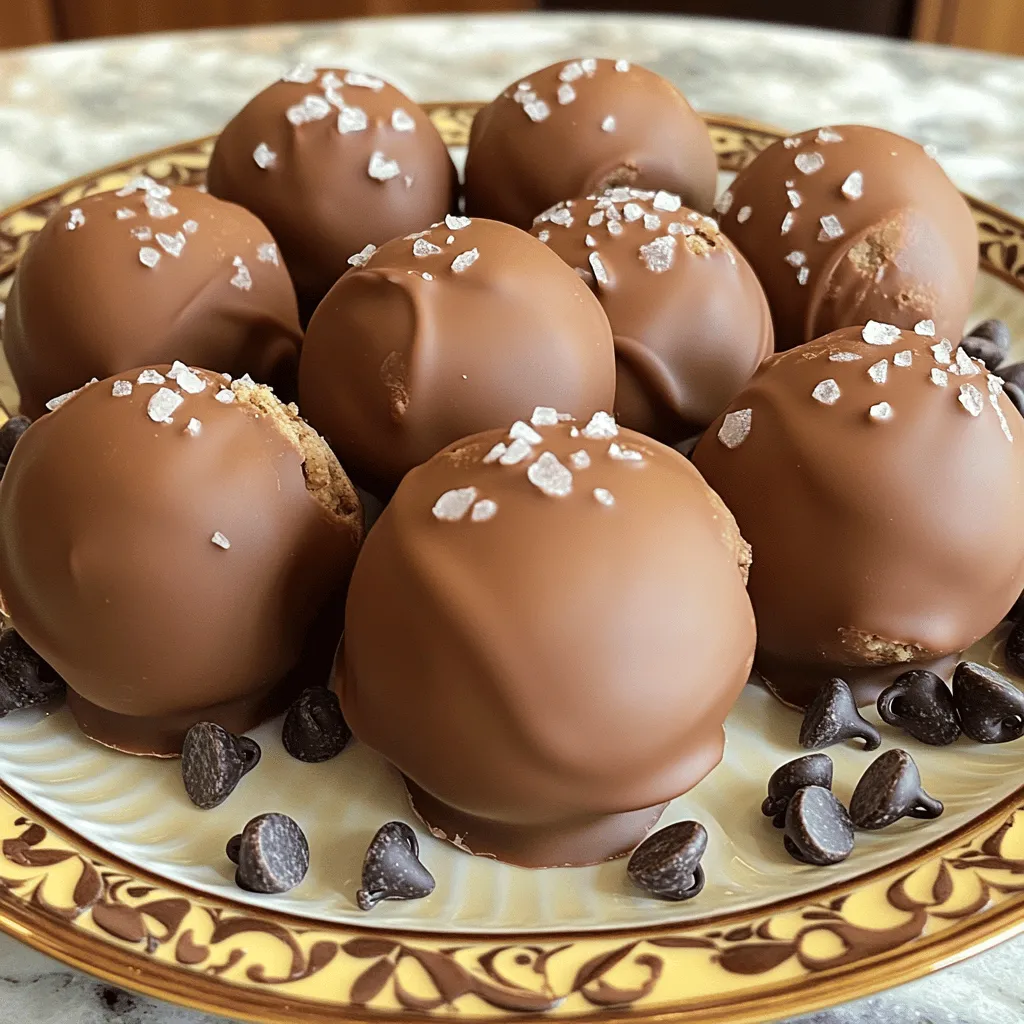
For these delightful Chocolate Chip Cookie Dough Truffles, you will need:
– 1 cup all-purpose flour (heat-treated)
– 1/2 cup unsalted butter, softened to room temperature
– 1/3 cup brown sugar, packed tightly
– 1/3 cup granulated sugar
– 1/2 teaspoon vanilla extract
– 1/4 teaspoon sea salt
– 1/2 cup mini chocolate chips
– 8 oz. milk chocolate, for coating
– Sea salt flakes, for garnish
Each ingredient plays a key role in creating the perfect truffle. The heat-treated flour ensures safety while giving that classic cookie dough taste. Softened butter helps create a creamy texture. Brown and granulated sugars add sweetness and depth.
Vanilla extract gives a lovely aroma, while sea salt balances the sweetness. Mini chocolate chips bring bursts of chocolate joy in every bite. Finally, the milk chocolate coating makes these truffles irresistible. The sea salt flakes on top provide a gourmet touch.
Gathering the right ingredients is the first step to making these treats. Remember, using high-quality chocolate and fresh ingredients will enhance the flavor. Enjoy the process of combining these items to create a delicious snack!
Step-by-Step Instructions
Preparation of Ingredients
– Heat-treat the flour: Start with 1 cup of all-purpose flour. Place it in a microwave-safe bowl. Heat it on high for 1 minute. This step makes it safe to eat. Let it cool before using.
– Cream the butter and sugars: Take 1/2 cup of softened unsalted butter. Add it to a large mixing bowl. Mix it with 1/3 cup of packed brown sugar and 1/3 cup of granulated sugar. Use an electric mixer on medium speed. Beat until the mixture is fluffy, about 2-3 minutes.
– Incorporate flavoring and flour: Add 1/2 teaspoon of vanilla extract and 1/4 teaspoon of sea salt. Mix until fully combined. Gradually add your cooled flour. Mix on low speed until just combined. Be careful not to overmix.
Shaping and Chilling
– Fold in chocolate chips: Take 1/2 cup of mini chocolate chips. Gently fold them into your dough. Make sure they are evenly spread throughout the mix.
– Shape the truffles: Scoop small portions of the dough. Roll them into 1-inch balls using your hands. Place the balls on a parchment-lined baking sheet. Space them out to avoid sticking.
– Chill the dough balls: Cover the baking sheet with plastic wrap. Chill the dough balls in the fridge for about 30 minutes. This helps them hold their shape.
Coating the Truffles
– Melt the chocolate: While the dough balls chill, prepare the coating. In a microwave-safe bowl, melt 8 oz. of milk chocolate. Do this in 30-second intervals. Stir in between until smooth.
– Dip the truffles: Remove the dough balls from the fridge. Using a fork, dip each ball into the melted chocolate. Make sure they are fully coated. Let excess chocolate drip off before placing them back on the sheet.
– Garnish with sea salt: While the chocolate is still wet, sprinkle a pinch of sea salt flakes on each truffle. This adds a nice flavor contrast.
– Set the truffles: Return the truffles to the fridge for 15-20 minutes. This lets the chocolate set completely. Enjoy your tasty treats!
Tips & Tricks
Best Practices for Success
– Ensure the flour is heat-treated properly: Heat-treat the flour to kill any germs. Just microwave it for one minute. Stir and let it cool before use.
– Avoid overmixing the dough: Mix the dough just until combined. Overmixing can make the truffles tough. You want a soft and tender texture.
– Achieve smooth chocolate coating: Melt the chocolate slowly in short bursts. Stir it well to keep it smooth. This will help the coating look perfect.
Presentation Ideas
– Decorative serving suggestions: Arrange the truffles on a pretty plate. You can even use a cake stand for added height. This makes them look fancy.
– How to use garnishes effectively: Sprinkle mini chocolate chips or sea salt flakes around the truffles. This adds color and flair. It also highlights the yummy flavors you created.
Variations
Flavor Variations
You can switch up the chocolate type for the coating. Use dark chocolate for a richer taste. White chocolate gives a sweet twist. Each choice adds a new layer of flavor.
Try adding flavor extracts to your dough. A few drops of almond extract can boost the taste. Mint extract gives a fresh zing. Experiment with what you love most.
Ingredient Substitutions
If you need a dairy-free version, use vegan butter instead of regular butter. This keeps the texture while making it suitable for everyone.
For a gluten-free treat, swap all-purpose flour with a gluten-free blend. Just ensure it works well for baking. This way, everyone can enjoy these truffles without worry.
Storage Info
Proper Storage Techniques
To keep your chocolate chip cookie dough truffles fresh, store them in an airtight container. Place parchment paper between layers to prevent sticking. You can keep them in the fridge for up to a week. For longer storage, freeze the truffles. Just place them on a baking sheet first. Once frozen, transfer them to a freezer bag. This way, you can enjoy them later.
Shelf Life
Homemade truffles last about one week in the fridge. In the freezer, they can last for up to three months. Always check for signs of spoilage. If you see any discoloration or an odd smell, it’s best to toss them. Enjoy your sweet treats while they’re fresh!
FAQs
Common Questions
Can I eat raw cookie dough?
Yes, you can eat this raw cookie dough! I use heat-treated flour, which makes it safe. This method kills any harmful bacteria. Enjoy the sweet, creamy goodness without worry.
How do I know when the chocolate is melted properly?
Melt the chocolate in 30-second bursts. Stir after each burst. The chocolate should be smooth and glossy. If you see lumps, keep melting. Stop when you have a silky texture.
Can these truffles be made ahead of time?
Absolutely! You can make these truffles a day in advance. Just store them in the fridge. They will stay fresh and tasty, ready for your next treat!
This blog post covered how to make delicious cookie dough truffles. We discussed ingredients, step-by-step instructions, tips for success, and fun variations. Remember to heat-treat your flour for safety, and don’t skip the chill time for better shapes. You can also play with flavors and storage options. Enjoy these treats at home or share them with friends. Making truffles is simple and rewarding. Happy cooking!