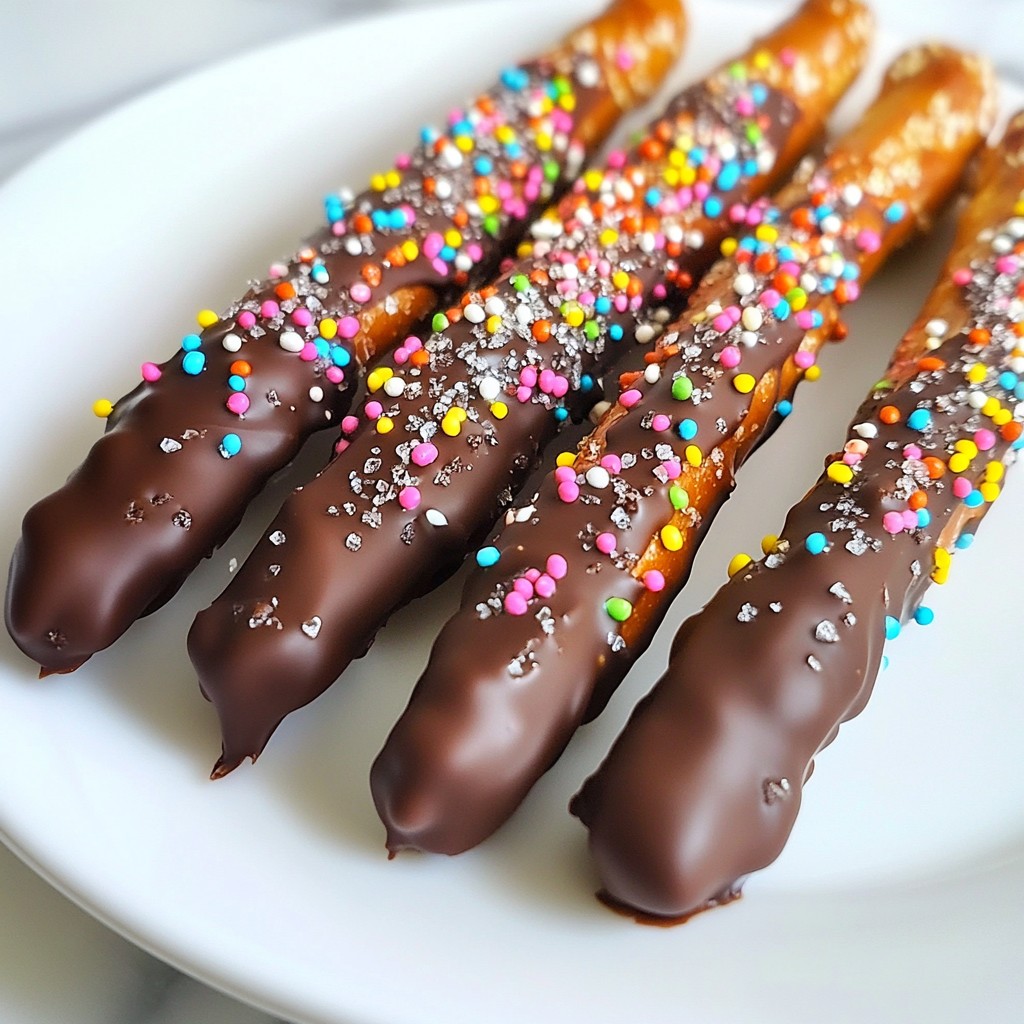
Want a sweet and salty snack? Let’s make chocolate-covered pretzel rods together! These tasty treats are super easy and fun to make. You’ll only need a few ingredients, and you can customize them to fit any occasion. From dipping to decoration, I’ll guide you every step of the way. Get ready to impress your friends and family with these yummy delights! Let’s dive into the fun!
Why I Love This Recipe
- Delicious Combination: The sweet chocolate paired with the salty pretzel creates a perfect balance that is simply irresistible.
- Customizable Toppings: You can easily personalize these pretzel rods with different sprinkles, nuts, or even drizzles of white chocolate for extra flair.
- Fun to Make: This recipe is a great activity for kids or a fun gathering with friends, making it a perfect addition to parties or holidays.
- Great for Gifting: These chocolate-covered pretzel rods make delightful homemade gifts that are sure to bring smiles to anyone who receives them.
Ingredients
List of Ingredients Required
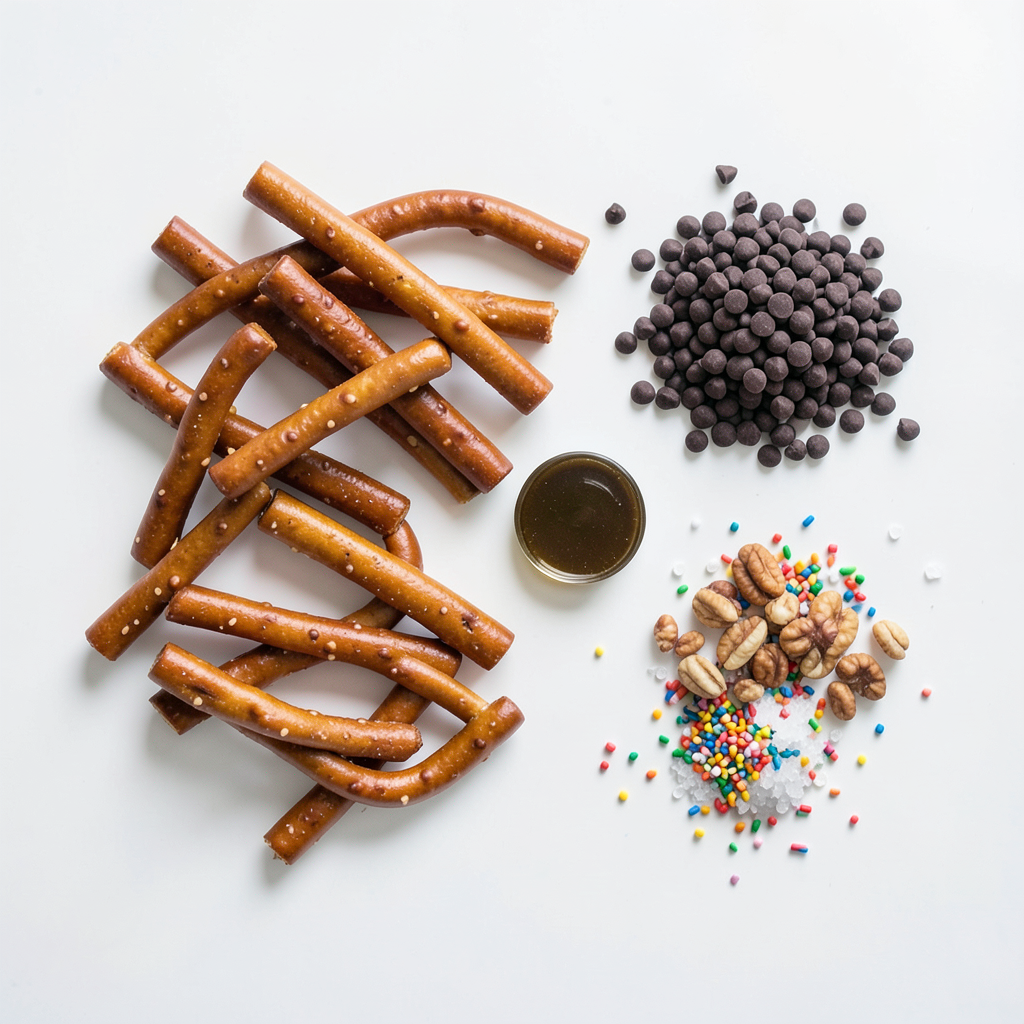
- Pretzel Rods: You need 12 pretzel rods for this recipe. Choose thick ones for a better crunch.
- Chocolate Chips: Use 1 cup of dark chocolate chips. Dark chocolate gives a rich flavor. You can also use milk or white chocolate if you prefer them sweeter.
- Coconut Oil: Add 1 tablespoon of coconut oil. This helps the chocolate melt smoothly and adds a nice shine.
- Colorful Sprinkles: Have 1/2 cup of colorful sprinkles ready. You can pick any colors you like. They add fun and joy to your treats.
- Crushed Nuts (Optional): Use 1/4 cup of crushed nuts, like almonds or peanuts. They add a nice crunch and flavor.
- Sea Salt (Optional): Just a sprinkle of sea salt can enhance the taste. It balances the sweetness of the chocolate.
These simple ingredients come together to make a fun treat. You can also mix and match toppings to make them your own. Enjoy the process!
Step-by-Step Instructions
Preparing the Work Surface
Start by lining a baking sheet with parchment paper. This step keeps your pretzel rods from sticking. It also makes clean-up easy. Lay out the paper flat on the sheet. Make sure it covers the whole surface.
Melting the Chocolate
Next, melt the chocolate chips. Combine them with coconut oil in a microwave-safe bowl. Heat in 30-second intervals. After each interval, stir the mixture. Stirring helps the chocolate melt smoothly. If you skip this, the chocolate may clump.
Dipping and Coating
Now, it’s time to dip the pretzel rods. Grasp one rod by the end. Dip it into the melted chocolate. Ensure it is well-coated. You can use a spoon to help cover it evenly. Let the excess chocolate drip off. Immediately roll the wet pretzel in sprinkles. Press gently to make them stick. If you want, add crushed nuts on top while the chocolate is still wet.
Cooling and Setting
Carefully place each coated rod on the lined baking sheet. Make sure they don’t touch each other. Repeat this with all the rods. If you like, sprinkle a bit of sea salt on them. This adds a nice flavor. Once done, put the baking sheet in the refrigerator. Chill for about 30 minutes. This helps the chocolate harden. You want it firm to the touch before serving.
Tips & Tricks
Achieving a Perfect Coat
To prevent clumping in chocolate, use a good quality chocolate chip. Mixing in coconut oil helps keep the chocolate smooth. Heat the chocolate in short bursts, stirring often. This keeps the chocolate from burning and clumping. If it does clump, add a bit more coconut oil and stir again.
Customizing Decorations
Add fun sprinkles for color and texture. You can use rainbow sprinkles, chocolate sprinkles, or even crushed candies. For flavor, consider adding crushed nuts on top. Almonds or peanuts work great. A dash of sea salt adds a nice sweet and salty taste.
Presentation Ideas
Serve the pretzel rods in a tall glass jar for a fun look. You can also place them on a nice platter. For gifts, wrap each rod in clear cellophane and tie with a ribbon. This makes a sweet treat for friends or family.
Pro Tips
- Use Quality Chocolate: Opt for high-quality dark chocolate chips for the best flavor and smooth melting. This will enhance the taste of your pretzel rods significantly.
- Experiment with Toppings: Feel free to get creative with your toppings! Try using crushed candies, coconut flakes, or even drizzling white chocolate over the top for added flair.
- Keep It Cool: Ensure your kitchen is cool while working with chocolate to prevent it from melting too quickly when dipping the pretzels.
- Storing the Treats: Store your chocolate-covered pretzel rods in an airtight container at room temperature for up to a week, or in the fridge for longer freshness.
Variations
Different Chocolate Coatings
You can change up the chocolate coating for your pretzel rods. White chocolate is a sweet choice. It adds a nice contrast to the salty pretzel. Milk chocolate is a classic option, giving a rich and creamy taste. You can also use dark chocolate for a bold flavor. If you want something unique, try using flavored chocolate, like mint or orange. They can add a fun twist to your treat.
Alternative Toppings
The toppings can make your pretzel rods even more fun. Try rolling them in shredded coconut for a tropical vibe. Crushed cookies, like Oreos, give a crunchy texture. You can also use chopped nuts, such as almonds or peanuts, for added flavor. For a pop of color, use colorful sprinkles. Get creative! Mix and match different toppings to find your perfect combo.
Seasonal Variations
Special occasions call for fun touches. For Halloween, add orange and black sprinkles. At Christmas, try red and green sprinkles or drizzle with white chocolate. For Valentine's Day, use pink sprinkles and heart-shaped toppings. You can even package them in festive bags to share. Seasonal variations make these pretzel rods great for any celebration!
Storage Info
Best Storage Practices
To keep your chocolate-covered pretzel rods fresh, store them in airtight containers. This prevents moisture from getting in and ruining the crunch. Place them in a cool, dry spot. Avoid areas with high heat or sunlight, as these can melt the chocolate.
Shelf Life
When stored well, chocolate-covered pretzel rods last about two weeks. They taste best within the first week. After that, the chocolate may start to lose its shine and flavor. If you notice any signs of moisture or a change in texture, it’s best to toss them.
Freezing Options
You can freeze chocolate-covered pretzels to extend their life. Here’s how:
1. Cool Completely: Let the pretzels cool and harden fully. This prevents them from sticking together.
2. Wrap Individually: Wrap each pretzel rod in plastic wrap or wax paper. This keeps them safe from freezer burn.
3. Use a Freezer Bag: Place the wrapped rods in a freezer bag. Squeeze out as much air as possible before sealing.
4. Label and Freeze: Mark the bag with the date. These treats can last up to three months in the freezer.
5. Thaw Before Serving: When you’re ready to enjoy them, take them out and let them thaw in the fridge for a few hours. This keeps the chocolate from melting too fast.
FAQs
Can I use other types of pretzels?
Yes, you can use different pretzels! If you want a fun twist, try pretzel twists or pretzel bites. They both work well with chocolate. Just keep in mind that the size and shape may change how much chocolate you need. You can even use mini pretzels for bite-sized treats.
How do I make these gluten-free?
To make gluten-free pretzel rods, look for gluten-free pretzel brands. Many stores offer these options now. You can also make your own using gluten-free flour. Just follow a simple pretzel recipe, and you will have gluten-free rods ready to dip in chocolate.
What chocolate is best for melting?
For melting, I recommend using dark chocolate chips. They melt well and taste rich. Brands like Ghirardelli or Nestlé work great. You can also use milk chocolate or white chocolate if you prefer a sweeter taste. Just remember to add a bit of coconut oil for smooth melting!
You can enjoy making chocolate-covered pretzels quickly and easily using this guide. We covered the needed ingredients, step-by-step instructions, helpful tips, fun variations, and storage options. Remember, your creations can be unique by choosing different coatings and toppings. With a little practice, you’ll master this fun treat in no time. Enjoy sharing or gifting these tasty snacks, knowing they’ll impress everyone! Get ready to dip and delight!