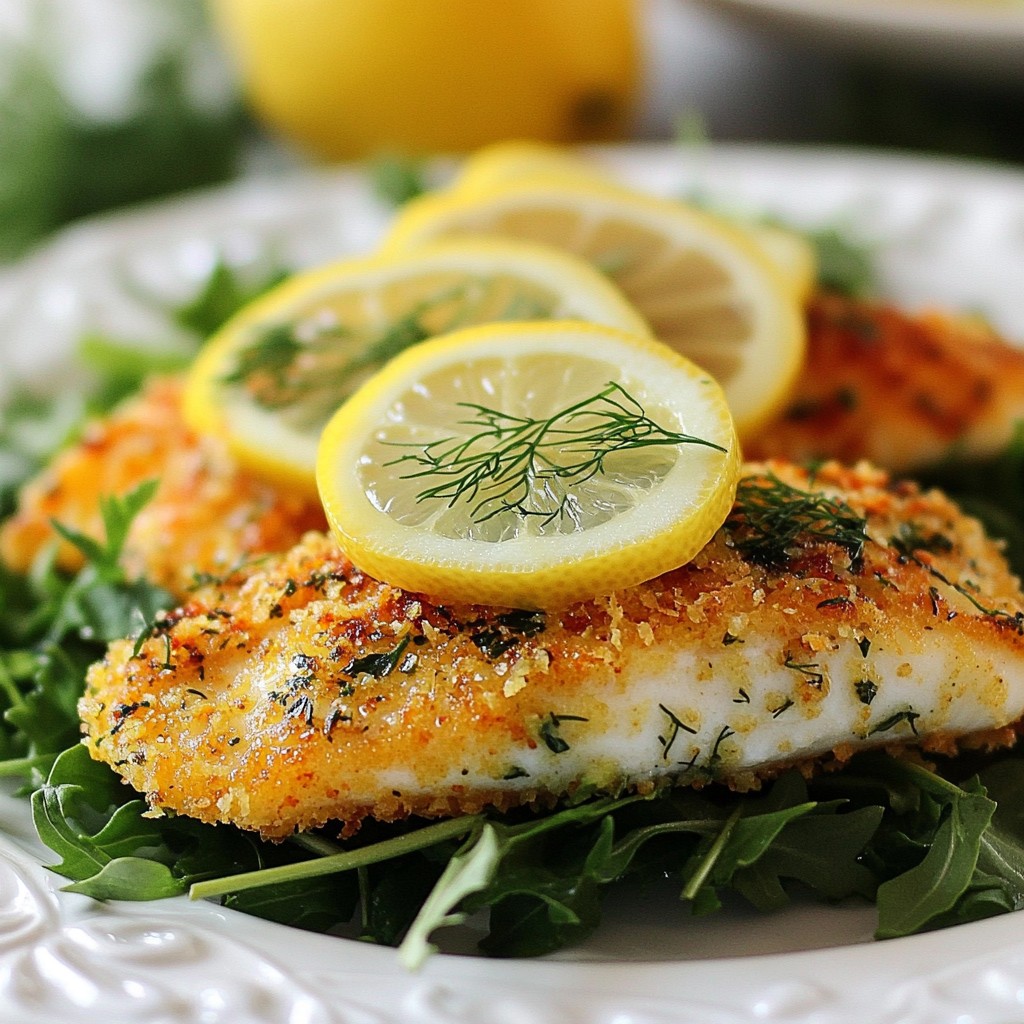
Get ready to savor the flavors of my Crispy Clean Eating Lemon Herb Tilapia Delight! This simple yet delicious dish brings together fresh herbs and zesty lemon to create a meal that’s both light and satisfying. Whether you're aiming for healthy eating or just want a tasty dinner, this recipe fits the bill. Join me as we explore the easy steps to create a seafood masterpiece that will impress your taste buds!
Why I Love This Recipe
- Health-Conscious Choice: This recipe is a clean eating option that uses almond flour instead of traditional breadcrumbs, making it gluten-free and healthier.
- Flavorful Ingredients: The combination of fresh herbs and lemon zest adds a bright and zesty flavor that elevates the mild taste of tilapia.
- Quick and Easy: With a prep time of just 10 minutes and a total of 30 minutes to cook, this dish is perfect for busy weeknight dinners.
- Aesthetically Pleasing: Serving the crispy tilapia on a bed of greens with fresh lemon wedges not only enhances flavor but also makes for a beautiful presentation.
Ingredients
Main Ingredients for Crispy Clean Eating Lemon Herb Tilapia
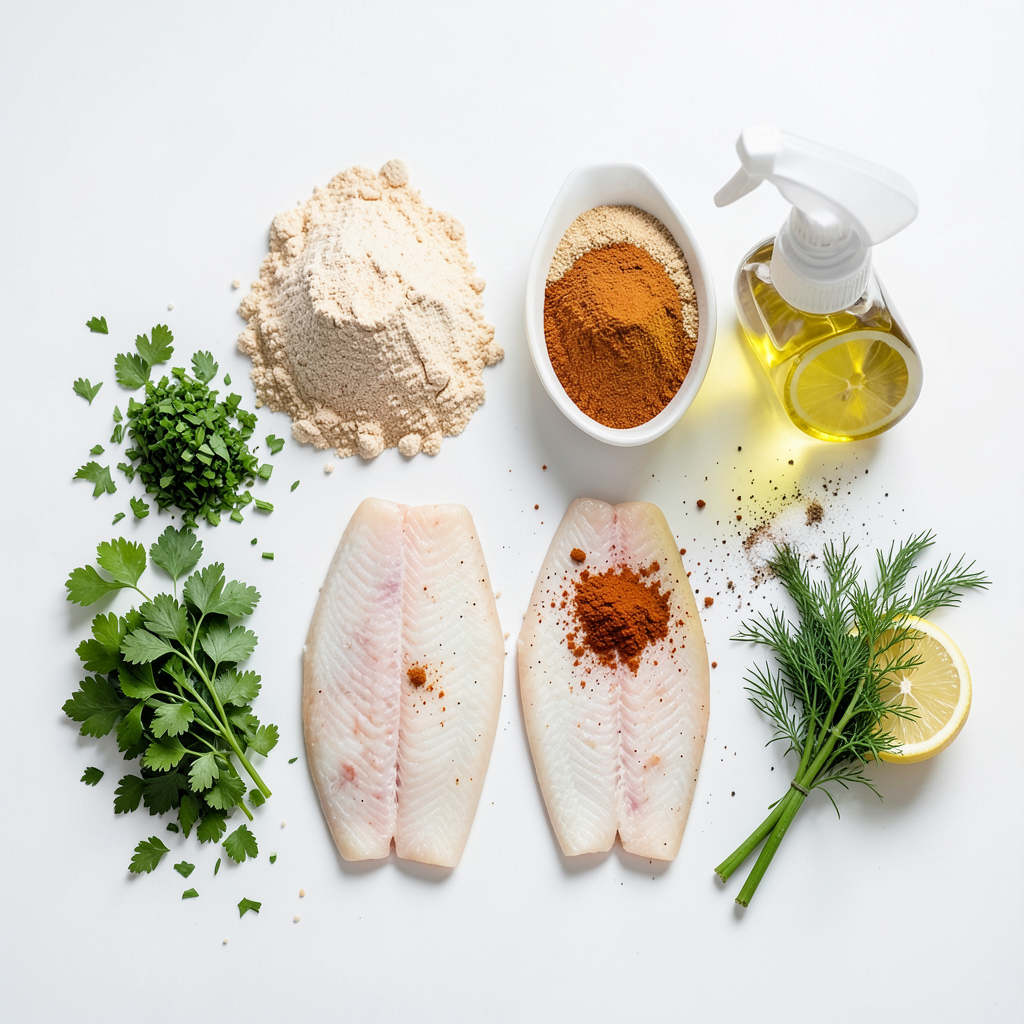
For this tasty dish, you will need these main ingredients:
- 4 tilapia fillets
- 1 cup almond flour
- 1 lemon, sliced
- 2 tablespoons fresh parsley, chopped
- 2 tablespoons fresh dill, chopped
- Salt and pepper to taste
These ingredients work well together. The tilapia gives a fresh taste, while the herbs add a nice touch.
Spices and Seasonings Used
The spices and seasonings make this dish special. Here’s what you’ll use:
- 1 teaspoon garlic powder
- 1 teaspoon onion powder
- 1 teaspoon paprika
- Zest of 1 lemon
These spices enhance the flavor. Garlic and onion powders add depth, while paprika brings a hint of warmth.
Suggested Garnishes and Serving Suggestions
Garnishing is key for a lovely presentation. Here are some ideas:
- Fresh lemon wedges
- Extra chopped herbs
Serve the tilapia on a bed of mixed greens. This adds color and a fresh crunch. Enjoy this clean dish with joy!
Step-by-Step Instructions
Preparation Steps for the Tilapia
Start by preheating your oven to 400°F (200°C). This helps the fish cook evenly. Next, line a baking sheet with parchment paper. This keeps the fish from sticking and makes cleanup easy. Rinse the tilapia fillets under cold water. Dry them gently with paper towels. This step ensures the coating sticks well.
Coating the Tilapia Fillets
In a shallow dish, mix the almond flour, garlic powder, onion powder, paprika, lemon zest, chopped parsley, chopped dill, salt, and pepper. Stir until all the spices blend well. Take each fillet and coat it in the almond flour mixture. Press gently to make sure the coating sticks. This adds the crispy texture we want.
Baking the Tilapia to Perfection
Place the coated fillets on the lined baking sheet. Lightly spray the tops with olive oil. This helps them get crispy while baking. Lay lemon slices on top of each fillet for extra flavor. Bake in the preheated oven for 15-20 minutes. The fish should turn opaque and flake easily with a fork. Once baked, let the fillets cool for a few minutes before serving. Enjoy your crispy clean eating lemon herb tilapia!
Tips & Tricks
Achieving the Perfect Crispy Texture
To get that crunchy crust, use almond flour instead of regular flour. Almond flour gives a nutty flavor and a crispier texture. Make sure to coat each fillet evenly. Press the flour mix firmly onto the fish. This helps the coating stick during baking. Lastly, spray the tops lightly with olive oil. This extra touch helps achieve a golden finish.
Recommended Cooking Techniques
Baking is the best method for this recipe. Preheat your oven to 400°F (200°C). Line your baking sheet with parchment paper to prevent sticking. This also makes for easier clean-up. You can also try broiling the fish for a few minutes at the end. This adds extra crispiness to the top layer.
How to Select Fresh Tilapia
When buying tilapia, look for fillets that smell fresh, like the sea. The flesh should be firm and moist, with no discoloration. If possible, buy from a trusted source. Ask the fishmonger for advice on freshness. If you are unsure, opt for frozen fillets. They are often frozen right after catch, so they stay fresh.
Pro Tips
- Fresh Herbs: Using fresh herbs like parsley and dill enhances the flavor of the tilapia significantly compared to dried herbs.
- Almond Flour Coating: Ensure the tilapia is well-coated with almond flour for a crispy texture; pressing gently helps the coating adhere better.
- Oven Temperature: Keep an eye on the oven temperature; baking at 400°F (200°C) allows the fish to cook evenly and develop a nice crust.
- Resting Time: Let the tilapia rest for a few minutes after baking to allow the juices to redistribute, making the fish more tender and flavorful.
Variations
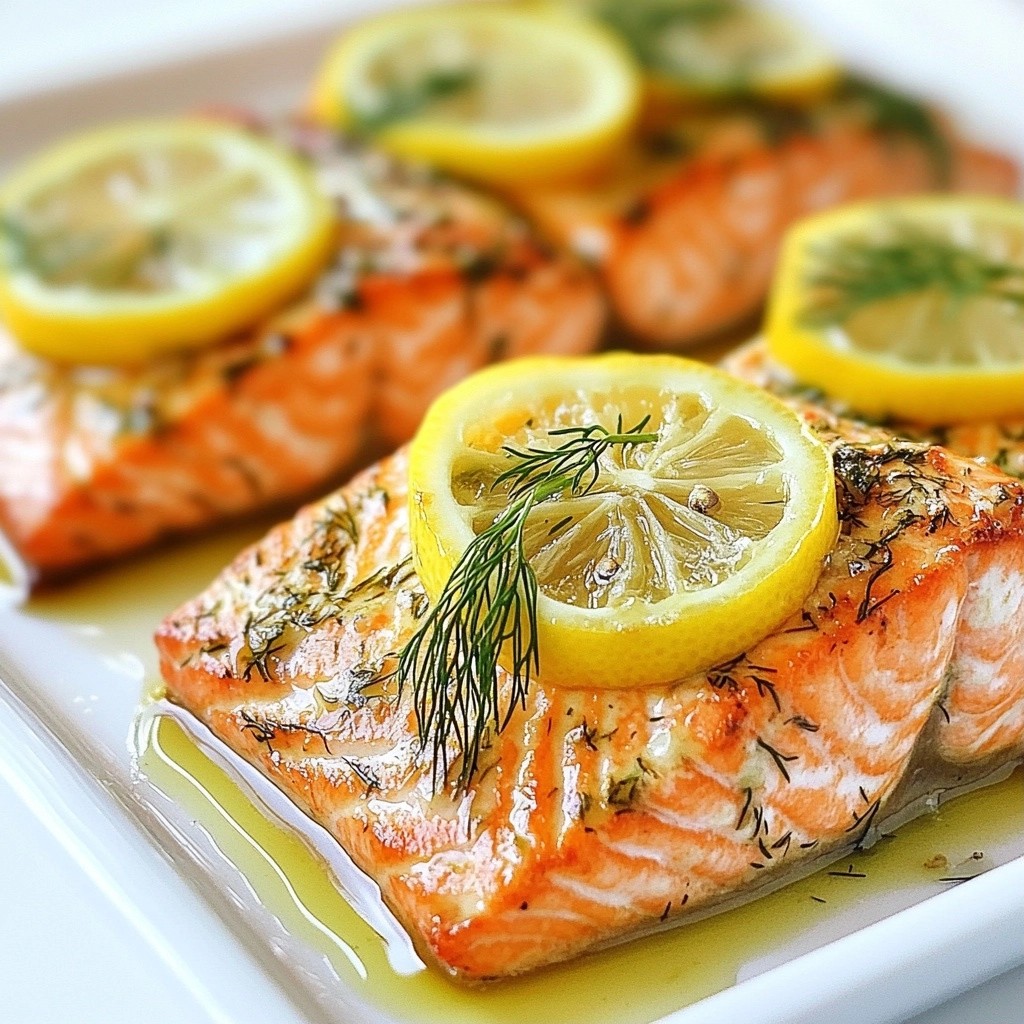
Substituting Different Fish Types
You can switch out tilapia for other fish. Try using cod, haddock, or even salmon. Each fish has a unique taste and texture. Cod is mild and flaky. Haddock is slightly sweet. Salmon adds a rich flavor. Adjust baking times based on the fish you choose. Always ensure your fish is cooked until it flakes easily.
Alternative Herbs and Seasonings
Herbs can change the taste of your dish. Instead of parsley and dill, try basil or cilantro. Thyme or oregano also work well. If you like heat, add chili flakes or cayenne pepper. Mix and match these herbs to find your favorite flavor blend. Each choice brings its own twist to the meal.
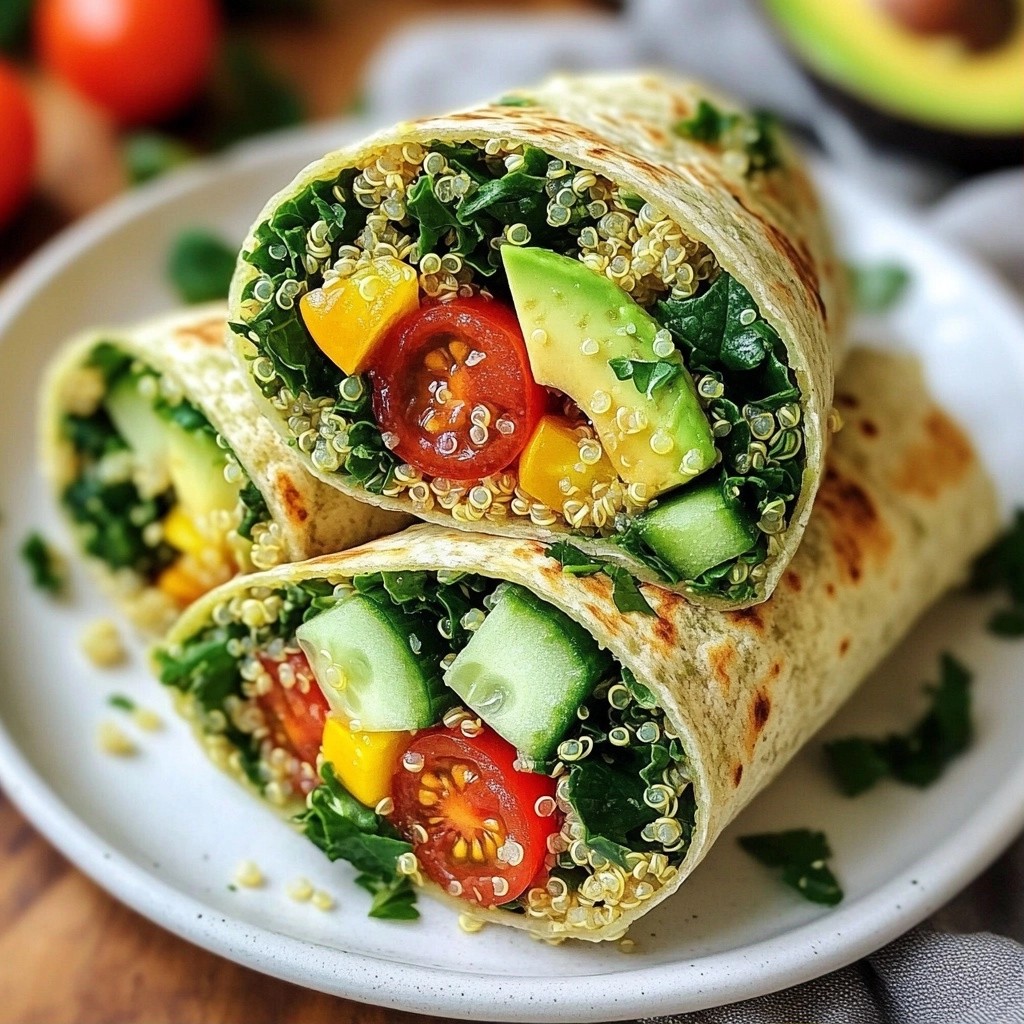
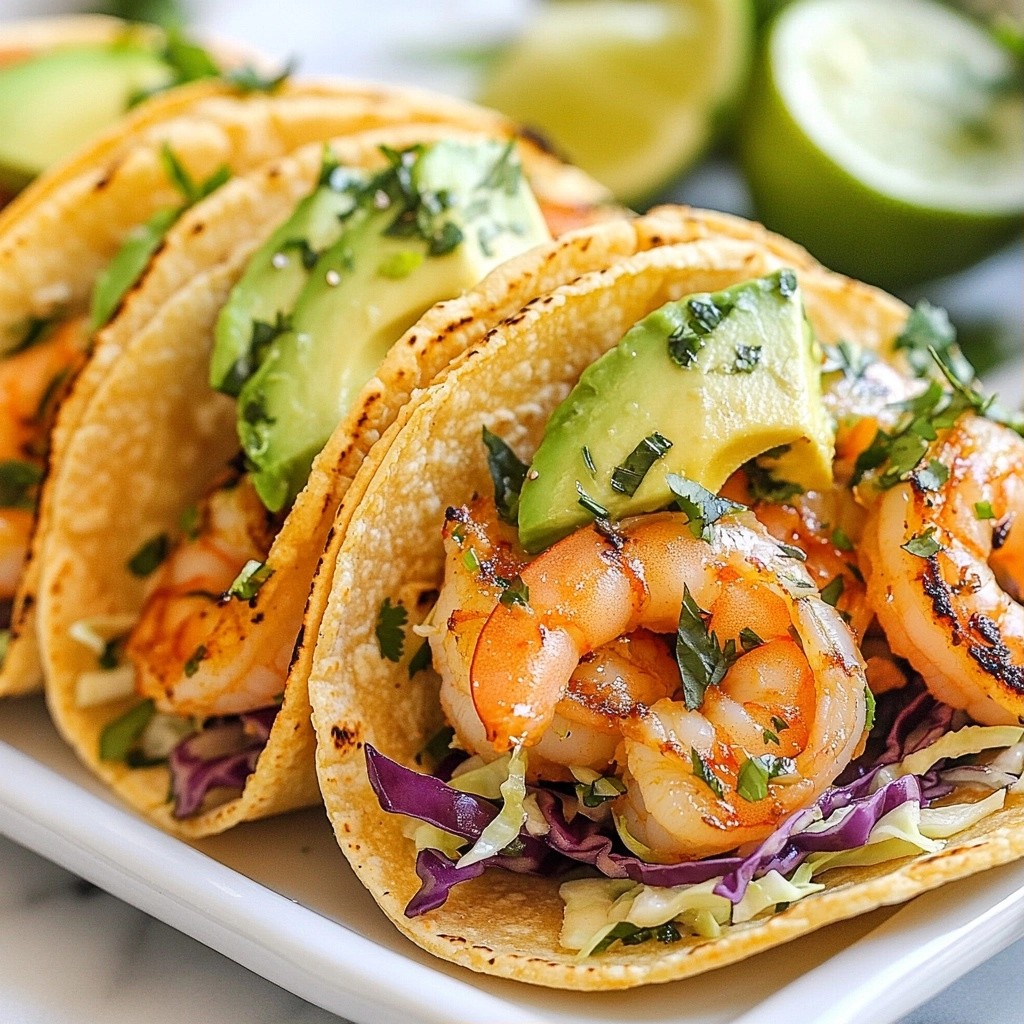
Serving Suggestions for Different Meals
You can serve this tilapia in many ways. For a light lunch, pair it with a salad. Use mixed greens, cherry tomatoes, and cucumbers for freshness. For dinner, serve it with quinoa or brown rice. Add steamed veggies like broccoli or asparagus for balance. This dish also works well in tacos. Just flake the fish and add toppings like avocado and salsa. Enjoy experimenting!
Storage Info
Proper Storage Methods for Leftover Tilapia
To keep leftover tilapia fresh, store it in an airtight container. Allow the fish to cool completely before sealing it. Place the container in the fridge. It will stay good for up to three days. If you notice any off smell or change in color, it’s best to toss it.
How to Reheat for Maximum Crispiness
To reheat your tilapia and keep it crispy, use the oven. Preheat the oven to 350°F (175°C). Place the tilapia on a baking sheet lined with parchment paper. Heat for about 10 minutes. This method helps regain that crunchy texture. Avoid using the microwave, as it can make the fish soggy.
Freezing Tips for Tilapia Fillets
If you want to freeze tilapia, wrap each fillet tightly in plastic wrap. Then, place the wrapped fillets in a freezer bag. Be sure to remove as much air as possible. Label the bag with the date. Frozen tilapia can last for up to six months. When ready to use, thaw it overnight in the fridge before cooking.
FAQs
How can I make this tilapia recipe gluten-free?
To make this tilapia recipe gluten-free, use almond flour. Almond flour is naturally gluten-free. It gives the fish a nice crunch. Make sure to check labels on all other ingredients. Some seasonings may have hidden gluten.
What sides pair well with Crispy Lemon Herb Tilapia?
Many sides work great with this tilapia. Here are some ideas:
- Steamed broccoli
- Quinoa salad
- Roasted sweet potatoes
- Mixed greens with lemon vinaigrette
These sides add color and balance to your meal.
Can I make this recipe in an air fryer?
Yes, you can make this tilapia in an air fryer. Preheat the air fryer to 375°F (190°C). Coat the fish as usual, then place it in the air fryer basket. Cook for about 10-12 minutes. Check for doneness. The fish should be flaky and crispy.
What is the nutritional information for this tilapia dish?
This tilapia dish is healthy and packed with nutrients. Here is a rough breakdown per serving:
- Calories: 220
- Protein: 24g
- Fat: 10g
- Carbohydrates: 8g
- Fiber: 2g
This dish offers a great source of lean protein and healthy fats.
This blog covered how to make crispy lemon herb tilapia. We explored key ingredients, spices, and garnishes. You learned step-by-step instructions for prep, coating, and baking. Tips helped you achieve the best texture and flavor. We looked at fish alternatives and storage methods too.
In summary, this dish is easy and tasty. With these tips, you can enjoy a healthy meal any night. Enjoy your cooking journey with this delightful tilapia recipe!