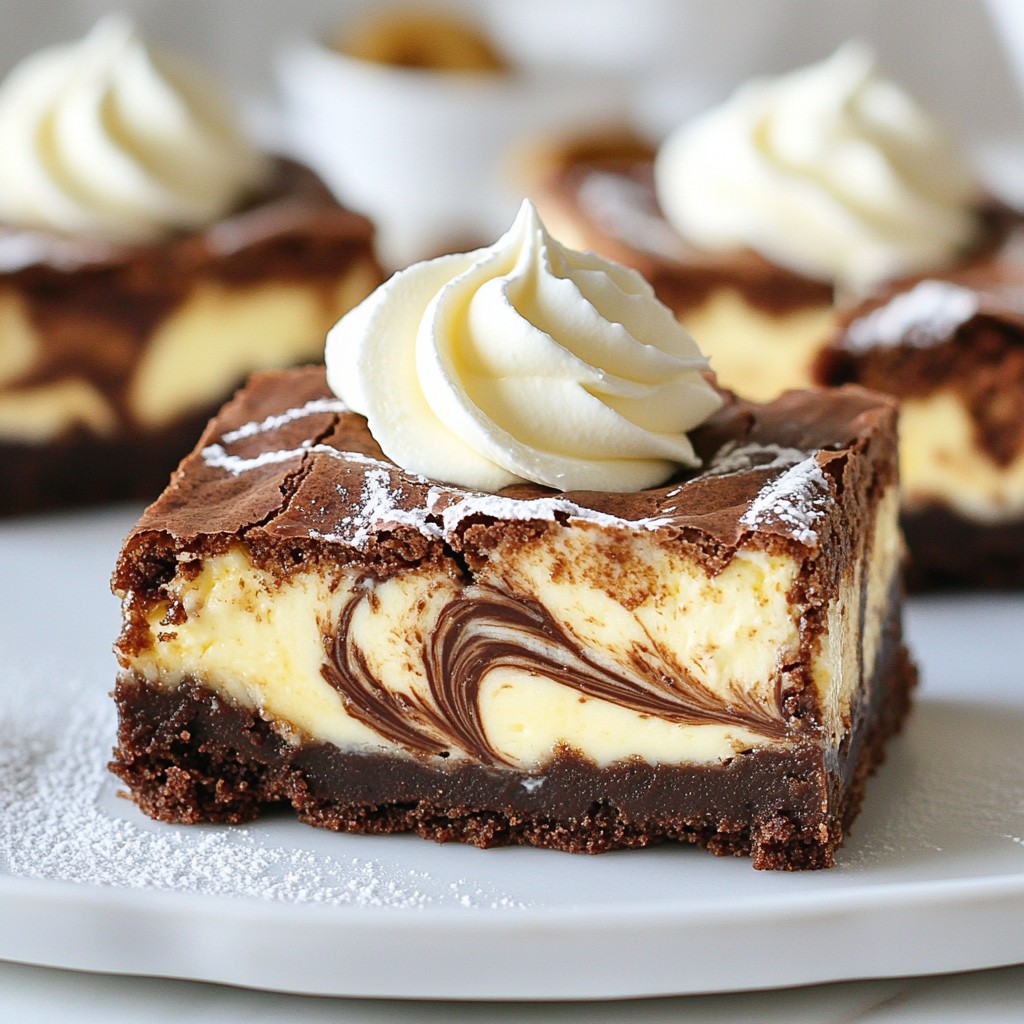
Are you ready for a sweet treat that requires no baking? You’ll love these No-Bake Chocolate Cheesecake Cups! They’re creamy, rich, and super easy to make. With simple ingredients like chocolate sandwich cookies and fresh cream, you can whip these up in no time. Join me as we dive into this delightful recipe that will satisfy your chocolate cravings and impress your friends. Let’s get started on this tasty journey!
Why I Love This Recipe
- Decadent Flavor: This cheesecake cups are rich and indulgent, making them a perfect treat for chocolate lovers.
- No-Bake Convenience: With no baking required, these cups are simple to prepare, saving you time and effort.
- Elegant Presentation: They look stunning when served in clear cups, showcasing the beautiful layers of chocolate and cream.
- Customizable Toppings: You can personalize each cup with your favorite toppings, from whipped cream to chocolate shavings.
Ingredients
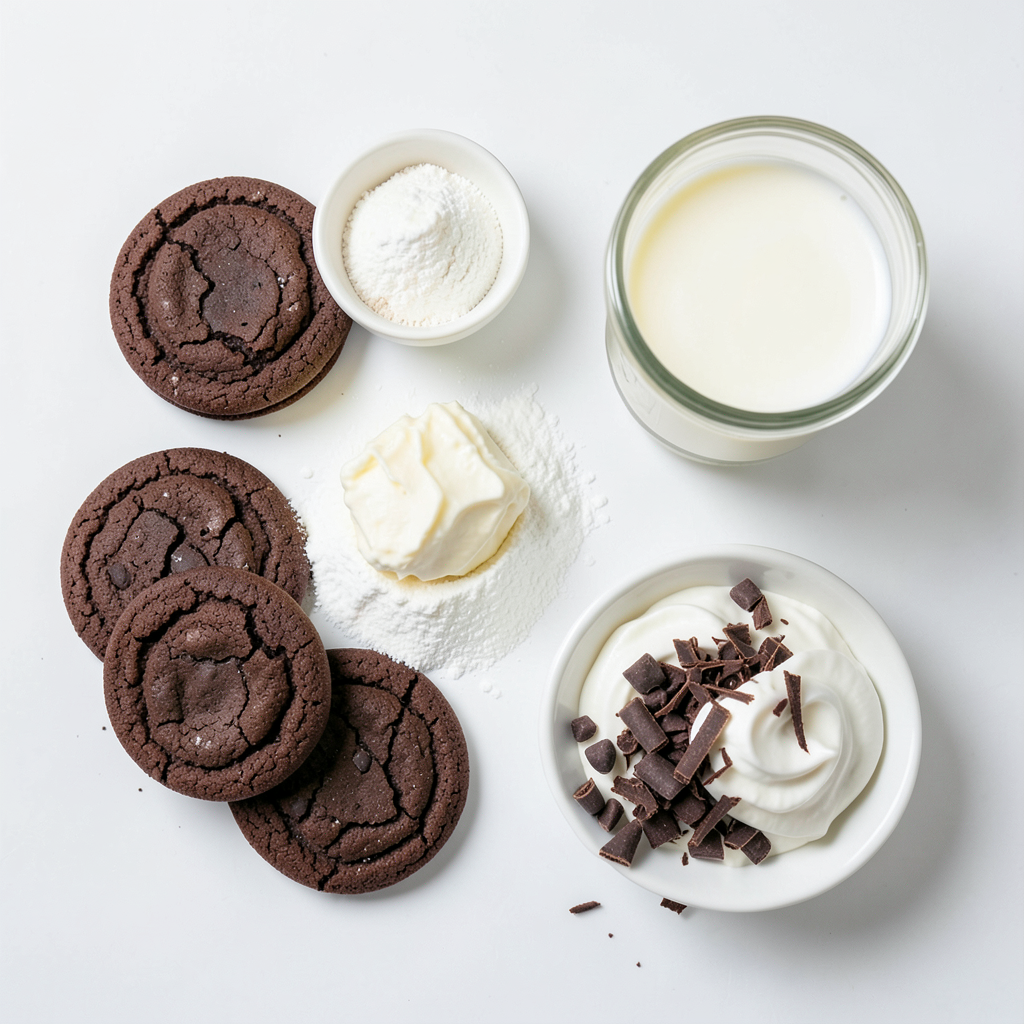
Chocolate Sandwich Cookies
These cookies form the base of our cheesecake cups. You need 1 cup of finely crushed chocolate sandwich cookies. This gives the cups a rich, chocolatey flavor and a nice crunch.
Cream Cheese
For a creamy texture, use 8 oz of softened cream cheese. Make sure it is at room temperature for easy mixing.
Heavy Whipping Cream
You will need 1 cup of chilled heavy whipping cream. This adds a light and airy feel to your cheesecake filling.
Semi-Sweet Chocolate Chips
Use 1/2 cup of semi-sweet chocolate chips. Melt them down until slightly cooled. They add a deep chocolate flavor to the filling.
Additional Ingredients
- 2 tablespoons of unsalted butter, melted until just warm. This helps bind the cookie crumbs.
- 1/2 cup of powdered sugar, sifted for a silky texture. It sweetens the cheesecake and keeps it smooth.
- 1 teaspoon of pure vanilla extract. This adds a nice aroma and flavor to the filling.
These ingredients come together to create a delightful treat that is sure to impress.
Step-by-Step Instructions
Preparing the Cookie Crust
Start by crushing the chocolate sandwich cookies. Use a food processor or a bag and rolling pin. You want fine crumbs. Next, melt the unsalted butter in a bowl until just warm. Mix the cookie crumbs with the melted butter. Stir until all crumbs are coated with butter.
Now, take individual serving cups and evenly divide the cookie mixture. Press down firmly to create a compact crust in each cup. This base will hold your cheesecake filling nicely.
Making the Cheesecake Filling
In a large bowl, beat the softened cream cheese with sifted powdered sugar. Use an electric mixer to make it smooth and creamy. Beat until you see no lumps.
In another clean bowl, pour in the chilled heavy cream and add the vanilla extract. Whip the cream until stiff peaks form. This step gives the filling a light texture. Be careful not to over-whip it.
Combining Chocolate with Cheesecake Mixture
Now, gently fold the whipped cream into the cream cheese mixture. Use a spatula and stir slowly to keep the air in the cream. The mixture should be smooth and fluffy.
Next, pour in the cooled melted chocolate. Fold it carefully until the chocolate blends in completely. You want a rich, uniform color.
Assembly of the Cheesecake Cups
Using a spoon or a piping bag, fill each cup with the chocolate cheesecake mixture. Aim to fill each cup about three-quarters full. This leaves space for toppings later.
Chilling Instructions
Cover each cup with plastic wrap. Place them in the fridge for at least four hours. This chilling time helps the cheesecake set and firm up nicely.
After chilling, your no-bake chocolate cheesecake cups will be ready to enjoy!
Tips & Tricks
Achieving the Perfect Whipped Cream
To make whipped cream, start with cold heavy cream. Cold cream whips better. Use a clean bowl and beaters. Add pure vanilla extract for flavor. Whip until stiff peaks form. This means the cream holds its shape. Be careful not to over-whip. Over-whipped cream can turn into butter.
Ensuring a Smooth Cheesecake Batter
Use room-temperature cream cheese for a smooth batter. Cold cream cheese can clump. Beat the cream cheese with sifted powdered sugar. This helps break down any lumps. Mix until creamy. When you fold in the whipped cream, do it gently. This keeps the batter airy and light.
Presentation Ideas for Serving
Use clear cups for a beautiful look. This shows off the layers of cookie crust and cheesecake. Top each cup with a generous dollop of whipped cream. For an extra touch, sprinkle chocolate shavings on top. You can also dust with cocoa powder. Both options add elegance and charm.
Pro Tips
- Chill Your Tools: For a lighter whipped cream, chill your mixing bowl and beaters in the freezer for 10-15 minutes before whipping the cream.
- Use Quality Chocolate: Opt for high-quality semi-sweet chocolate chips for a richer, more decadent flavor in your cheesecake.
- Let It Set: Allow the cheesecake cups to set in the refrigerator for at least 4 hours or overnight for the best texture and flavor.
- Garnish with Style: When garnishing, use a vegetable peeler to create elegant chocolate shavings or use a fine sieve for a delicate dusting of cocoa powder.
Variations
Alternative Crust Ideas
You can switch up the crust for your no-bake chocolate cheesecake cups. Here are a few ideas:
- Graham cracker crumbs: Use finely crushed graham crackers for a classic taste.
- Oreo cookies: Swap in Oreo cookies for a fun twist. They add extra chocolate flavor.
- Nut crust: Try ground nuts like almonds or pecans for a gluten-free option.
- Brownie base: Use crumbled brownies for a rich and fudgy crust.
Each option brings a unique taste, so feel free to experiment.
Flavor Variations for Cheesecake
Want to change the flavor of your cheesecake? Here are some tasty suggestions:
- Mint chocolate: Add peppermint extract for a refreshing minty flavor.
- Peanut butter: Mix in creamy peanut butter for a nutty richness.
- Coffee: Blend in instant coffee for a mocha twist.
- Fruit flavors: Fold in fruit purees like raspberry or strawberry for a fruity kick.
These flavors can make your dessert even more exciting.
Different Toppings and Garnishes
Toppings can elevate your cheesecake cups. Here are some great ideas:
- Fresh berries: Top with strawberries, raspberries, or blueberries for a pop of color.
- Chopped nuts: Sprinkle chopped nuts for added crunch.
- Caramel sauce: Drizzle caramel for a sweet contrast to the chocolate.
- Shredded coconut: Add coconut for a tropical feel.
These toppings not only look great but also add fun textures and tastes to your treat. Enjoy mixing and matching!
Storage Info
How to Store Leftover Cheesecake Cups
I always recommend storing leftover cheesecake cups in the fridge. Use an airtight container to keep them fresh. Place a layer of plastic wrap over the cups for extra protection. This helps to avoid any fridge odors from sneaking in. Make sure to consume them within four days for the best taste.
Freezing Instructions
You can freeze these cheesecake cups if you have leftovers. First, let them chill completely in the fridge. Then, cover each cup tightly with plastic wrap, followed by aluminum foil. This double layer keeps them safe from freezer burn. They can last in the freezer for up to two months. When ready to eat, transfer them to the fridge overnight to defrost.
Shelf Life and Best Practices
These no-bake chocolate cheesecake cups can last about four days in the fridge. To keep them tasting fresh, avoid adding toppings until serving. Whipped cream and chocolate shavings look best when freshly added. If you follow these tips, you’ll enjoy every delightful bite!
FAQs
Can I use low-fat cream cheese?
Yes, you can use low-fat cream cheese. It may change the texture a bit but still tastes good. Low-fat options can be a lighter choice for your no-bake chocolate cheesecake cups.
How long does it take for the cheesecake to set?
The cheesecake needs at least four hours to set. For the best results, let it chill overnight. This allows the flavors to blend well and gives a firmer texture.
What can I substitute for chocolate sandwich cookies?
If you don't have chocolate sandwich cookies, use chocolate graham crackers instead. You can also try regular graham crackers with cocoa powder mixed in. Both options work well for the crust.
Can I make these cheesecake cups ahead of time?
Yes, you can make these cheesecake cups ahead of time. They store well in the fridge for up to three days. This makes them great for parties or gatherings. Just add the whipped cream and toppings right before serving for the best look.
These chocolate cheesecake cups are easy and fun to make. We covered all the key steps. You learned about the ingredients, from chocolate cookies to cream cheese. The assembly and chilling were also important parts. I shared tips for perfect whipped cream and smooth batter. Options for crusts and toppings gave you creative ideas. Lastly, safe storage helps keep your treat fresh.
Enjoy making these delicious cups and impress everyone with your skills. Happy baking!