Do you love the rich taste of Nutella? Then these Nutella Chocolate Chip Scones are for you! They are easy to make and super tasty, perfect for breakfast or a snack. In this article, I’ll walk you through the simple steps to whip up these delicious scones at home. Get ready to enjoy a sweet treat that will impress your family and friends! Let’s dive into the recipe!
Why I Love This Recipe
- Decadent Flavor: These scones are a delightful blend of rich Nutella and chocolate chips, making them an irresistible treat for any chocolate lover.
- Easy to Make: With simple ingredients and straightforward steps, this recipe is perfect for both novice bakers and seasoned pros.
- Perfect for Any Occasion: Whether it's breakfast, brunch, or an afternoon snack, these scones are versatile enough to enjoy anytime.
- Great for Sharing: With a yield of 8 scones, they are perfect for sharing with friends or family, making gatherings even more special.
Ingredients
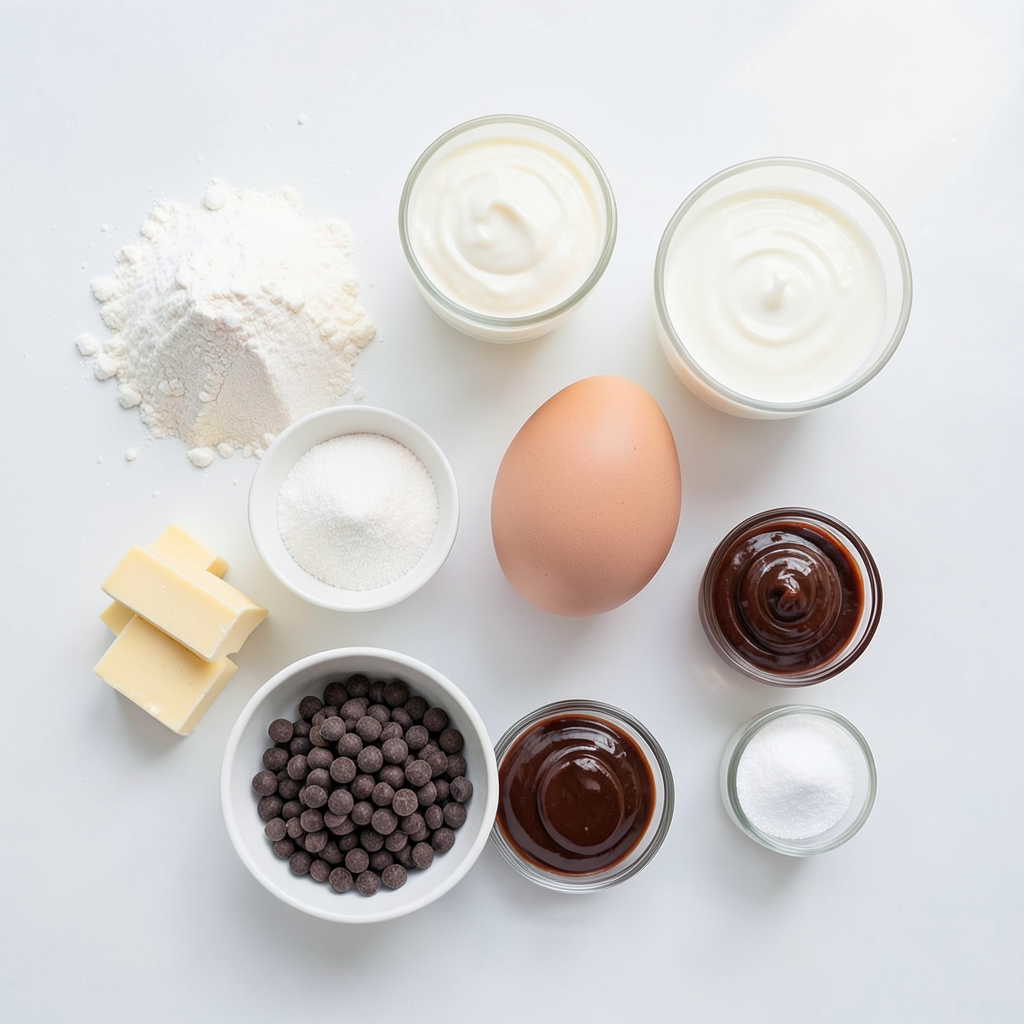
List of Ingredients
- 2 cups all-purpose flour
- 1/4 cup granulated sugar
- 1 tablespoon baking powder
- 1/2 teaspoon salt
- 1/2 cup unsalted butter, cold and cut into small cubes
- 1/2 cup heavy cream
- 1 large egg
- 1/2 cup Nutella (or any preferred hazelnut spread)
- 1/2 cup chocolate chips
- Extra heavy cream for brushing
- Coarse sugar for optional garnish
Measurements
For this recipe, precision matters. Use measuring cups for dry ingredients like flour and sugar. A kitchen scale works well for butter if you want exact measurements. Use a tablespoon for baking powder and a teaspoon for salt. When measuring liquids, a clear liquid measuring cup gives you the best view.
Substitutions for Common Ingredients
You can easily swap some ingredients if needed:
- Flour: Use whole wheat flour for a nuttier flavor.
- Sugar: Coconut sugar can replace granulated sugar for a different taste.
- Butter: Vegan butter works well for a dairy-free option.
- Heavy cream: Use coconut cream or almond milk if you need a lighter alternative.
- Nutella: Any hazelnut spread will work. You can also try chocolate spread if that’s what you have on hand.
- Chocolate chips: Swap dark or white chocolate chips for different flavors.
These choices allow flexibility while keeping your scones tasty and satisfying.
Step-by-Step Instructions
Preheat the Oven and Prepare Baking Sheet
First, set your oven to 400°F (200°C). This helps the scones bake evenly. Next, line a baking sheet with parchment paper. This keeps the scones from sticking.
Mixing the Dry Ingredients
In a large bowl, mix 2 cups of flour, 1/4 cup of sugar, 1 tablespoon of baking powder, and 1/2 teaspoon of salt. Use a whisk to blend them well. This step is key for a smooth dough.
Combining Wet and Dry Ingredients
In another bowl, whisk together 1/2 cup of heavy cream and 1 large egg until smooth. Slowly pour this mixture into the dry ingredients. Stir gently with a spatula until just combined. Avoid overmixing to keep the scones light.
Shaping and Cutting the Dough
Lightly flour your countertop. Turn the dough out onto it and gently pat it into a circle about 1 inch thick. Use a sharp knife or pizza cutter to slice the dough into 8 equal wedges, just like cutting a pizza.
Baking the Scones
Transfer the cut scones to your prepared baking sheet, leaving space between them. Brush the tops with extra heavy cream for a shiny finish. Optionally, sprinkle coarse sugar on top. Bake for 15-18 minutes until golden brown. A toothpick should come out clean when inserted in the center. Allow them to cool slightly on the baking sheet before moving them to a wire rack.
Tips & Tricks
Achieving the Perfect Texture
To get the best scone texture, keep your butter cold. Cold butter makes flaky layers. When mixing, stop as soon as you see no dry flour. This keeps the scones light and airy. If the dough feels too sticky, sprinkle a little flour on your hands and the surface.
How to Store Leftover Scones
Store your scones in an airtight container. This keeps them fresh for up to three days. If you want to save them longer, freeze them. Wrap each scone tightly in plastic wrap, then place them in a freezer bag. They can last for up to three months in the freezer.
Serving Suggestions
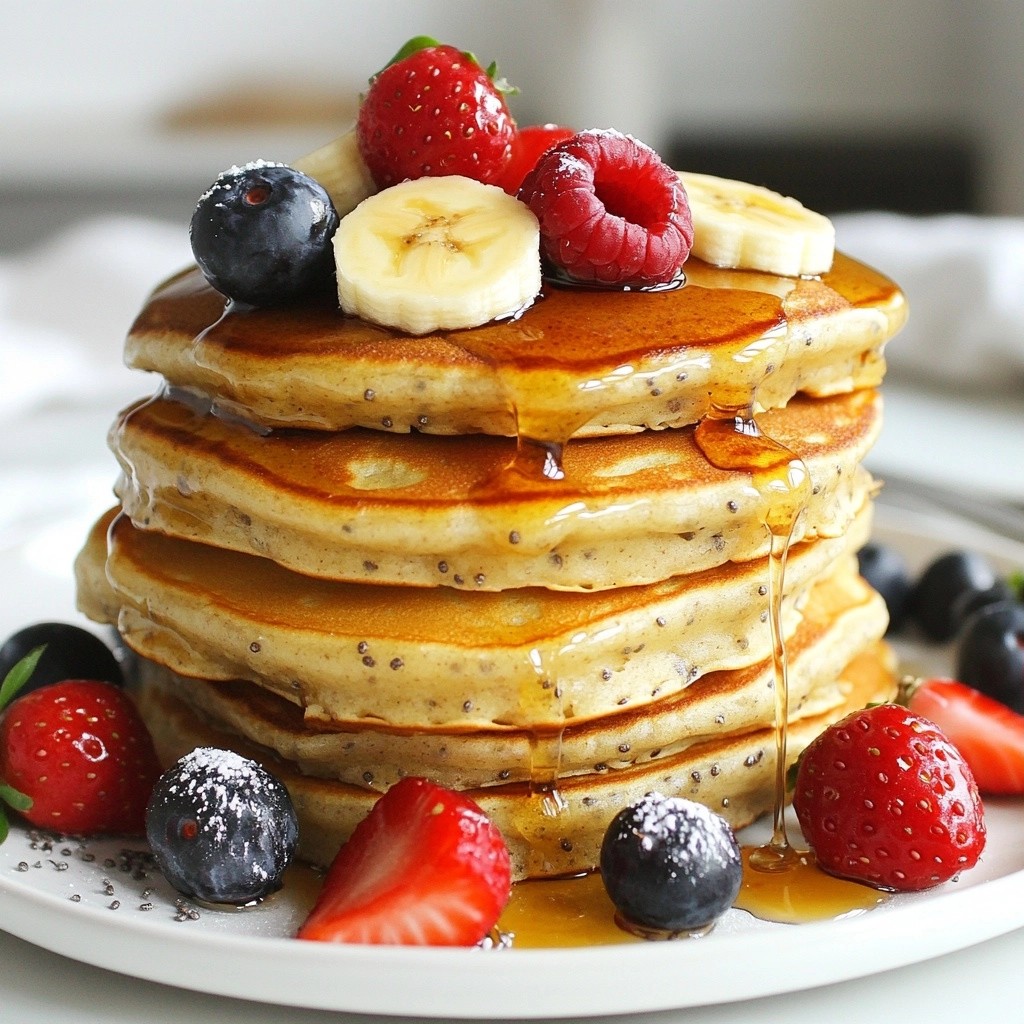
Serve your scones warm with extra Nutella on the side. For a fun twist, add fresh fruit like strawberries or bananas. A light dusting of powdered sugar makes them look fancy. Enjoy your scones with coffee or tea for a perfect snack!
Pro Tips
- Chill Your Ingredients: Ensure your butter is very cold before incorporating it into the flour mixture. This helps create flaky layers in your scones.
- Don’t Overmix: When combining the wet and dry ingredients, mix just until combined. Overmixing can lead to tough scones.
- Customize Your Fillings: Feel free to add nuts, dried fruits, or other chocolate varieties along with the Nutella and chocolate chips for added texture and flavor.
- Store Properly: Keep any leftover scones in an airtight container at room temperature for up to 2 days, or freeze them for longer storage.
Variations
Nut and Fruit Additions
You can make your Nutella chocolate chip scones even better by adding nuts or fruit. Try adding chopped walnuts or hazelnuts for a crunchy bite. If you prefer fruit, add dried cherries or blueberries. Just mix in about 1/2 cup until they are well distributed in the dough. These additions bring extra flavor and texture to your scones.
Gluten-Free Options
If you need a gluten-free version, you can use gluten-free flour. Make sure to choose a blend that works well for baking. Replace the all-purpose flour with the same amount of gluten-free flour. You may also need to add a bit of xanthan gum to help with the texture. Follow the same steps in the recipe, and you’ll have tasty gluten-free scones.
Different Flavor Combinations
You can switch up the flavors in your scones too! For a mocha version, add instant coffee granules to the dry mix. You can also try using peanut butter instead of Nutella for a different taste. Add spices like cinnamon or nutmeg for warmth. Mix and match according to what you love. The possibilities are endless!
Storage Info
Best Practices for Freshness
To keep your Nutella chocolate chip scones fresh, store them in an airtight container. This will help maintain their soft texture and delicious flavor. Place a piece of parchment paper between layers if you stack them. Store at room temperature for up to two days. If you want to keep them longer, consider freezing.
Freezing Instructions
To freeze your scones, let them cool completely after baking. Place them in a single layer on a baking sheet. Freeze them for about an hour. Once frozen, transfer the scones to a freezer bag or an airtight container. They can last up to three months in the freezer. Make sure to label the bag with the date.
Reheating Tips
When you want to enjoy a scone, you can reheat it easily. Preheat your oven to 350°F (175°C). Place the scone on a baking sheet and warm it for about 10 minutes. This will restore its freshness and warmth. You can also use a microwave, but it may make the scone a bit soft. Heat it for about 15-20 seconds. Enjoy your scone with a bit more Nutella for a special treat!
FAQs
How can I make scones without heavy cream?
You can replace heavy cream with milk or a non-dairy milk. Use 1/2 cup of milk and add 1 tablespoon of vinegar or lemon juice. This creates a buttermilk effect. The scones will still be tasty and fluffy.
Can I use a different type of chocolate?
Yes, you can use any chocolate you like. Try dark chocolate, white chocolate, or even peanut butter chips. Each type will change the taste a bit, giving you new flavors to enjoy.
What should I do if my scone dough is too sticky?
If your dough is sticky, add more flour. Start with one tablespoon at a time. Mix gently until the dough is easier to handle. Avoid overworking to keep the scones light and fluffy.
Can I double the recipe?
Absolutely! Just double each ingredient. Make sure to use a larger bowl for mixing. Baking time may stay the same, but check for doneness a little early.
How do I know when the scones are done baking?
The scones are ready when they turn golden brown. Insert a toothpick in the center. If it comes out clean, the scones are done. Let them cool on a rack for the best texture.
You now have all you need to bake perfect scones. We covered ingredients, measurements, and easy substitutions. I shared clear steps, tips for texture, and ways to store leftovers. You can create fun variations and keep scones fresh. Remember these simple answers to common questions, too. Enjoy baking, and let your scone journey begin!