


LATEST RECIPES


LET'S GET COOKING!
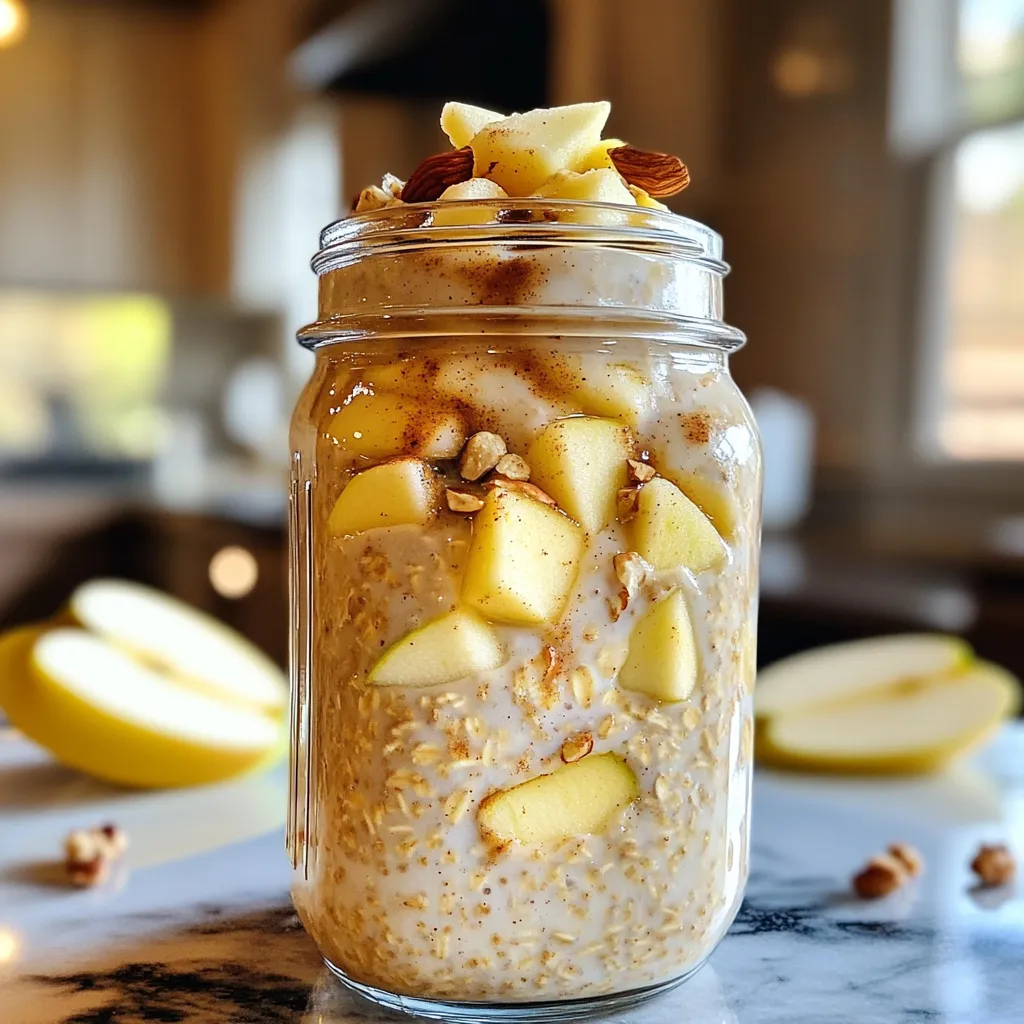
Apple Chai Overnight Oats Nutritious Easy Breakfast
Start your day the right way with my Apple Chai Overnight Oats! This easy breakfast packs tons of flavor and nutrition. You’ll love how the...
Read Full Recipe →