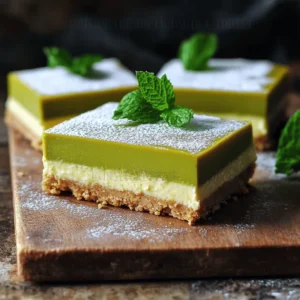
No-Bake Matcha Cheesecake Bars
Indulge in the creamy delight of no-bake matcha cheesecake bars that are not only delicious but also easy to make! With a crunchy almond flour crust and a rich matcha-infused filling, these treats are perfect for impressing guests or enjoying a sweet moment to yourself. Explore the full recipe to learn how to create these vibrant, refreshing bars that are sure to satisfy your cravings. Click through to start your matcha adventure today!